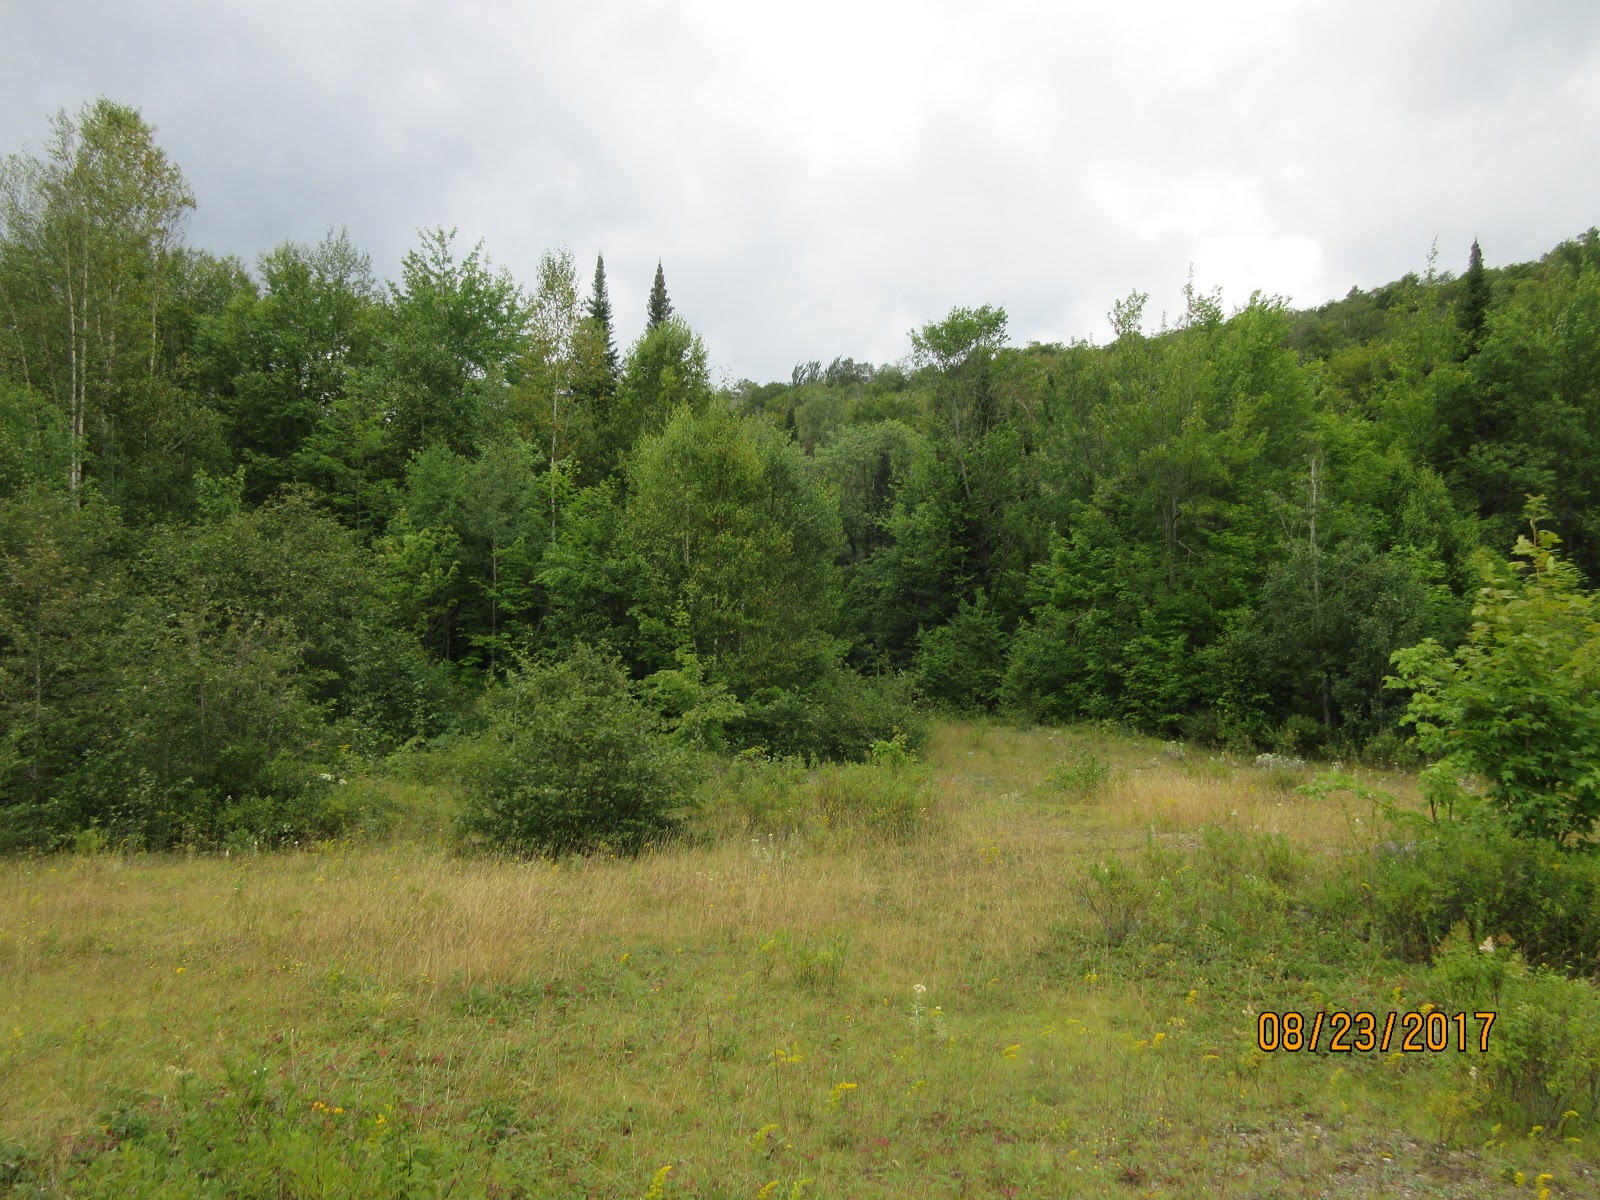
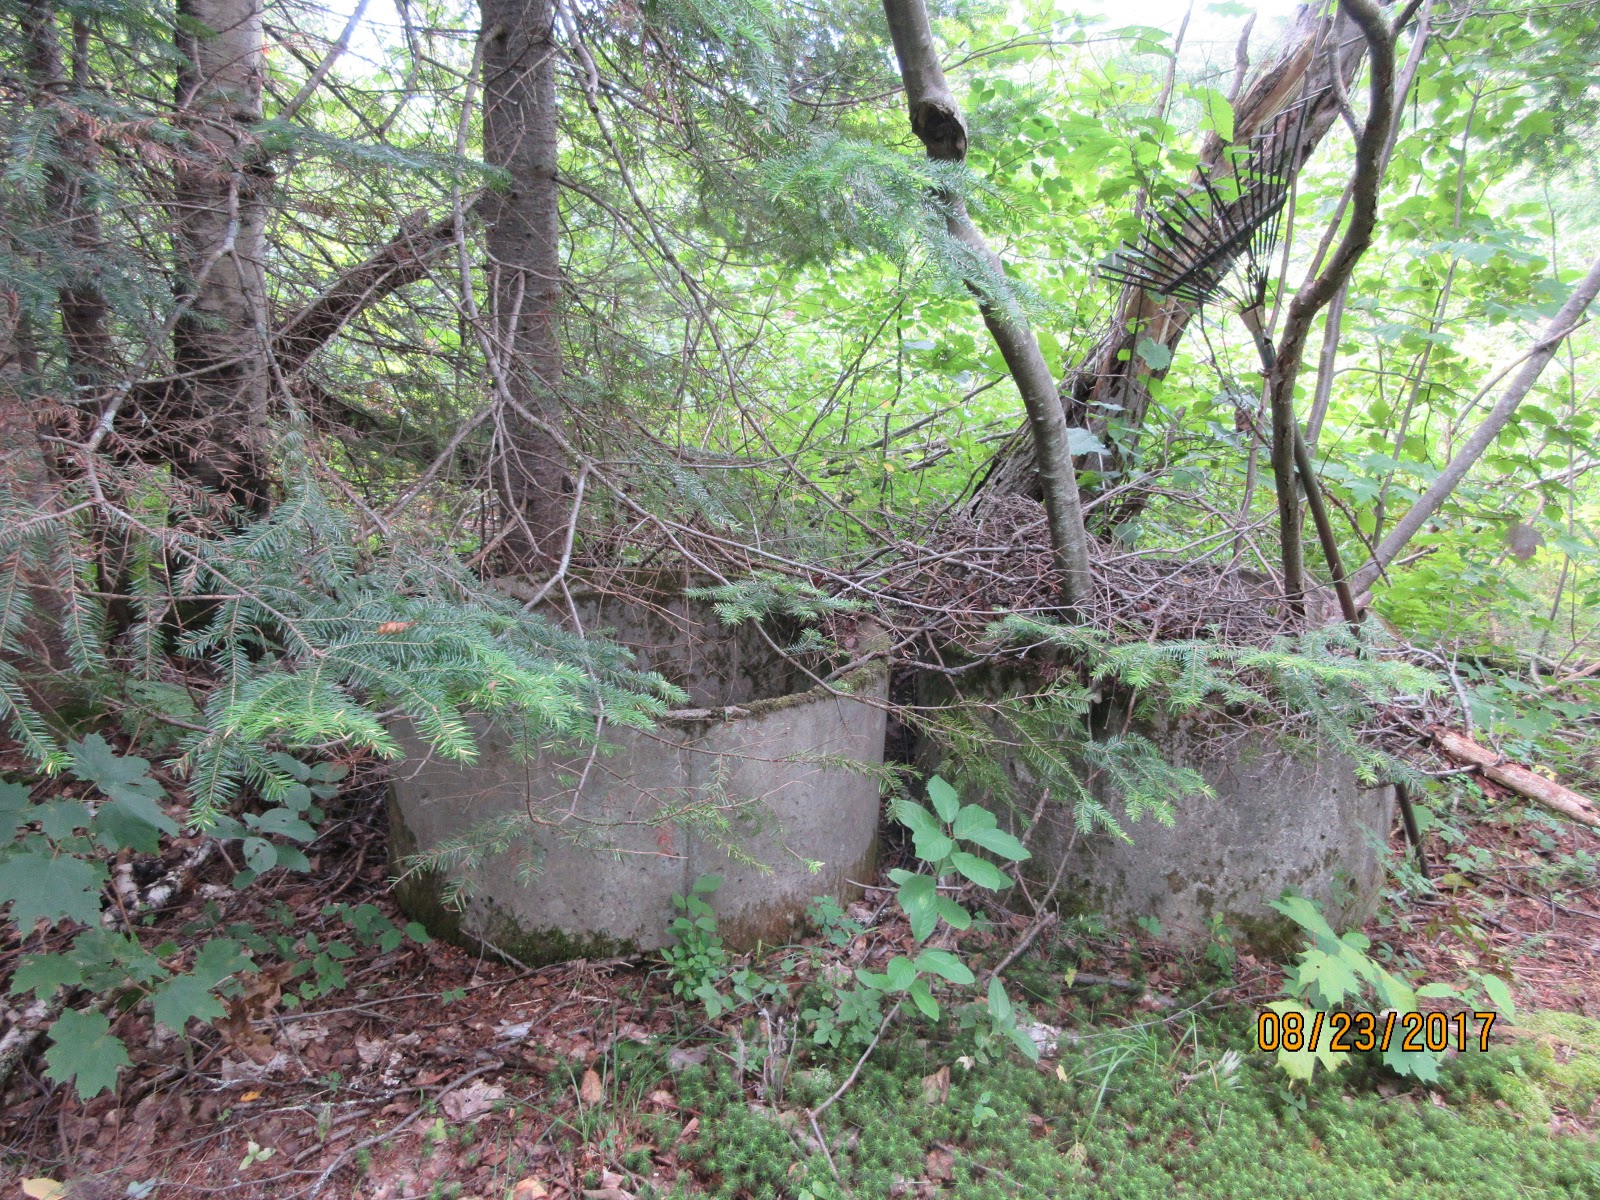
I remember that there was a place, near a lake where there was an wells. I was sure it was there. Instead I found this:
The wells seems to have dissapear. Someone seems to have remove it. I don't know if those are the remain of the wells. I will never know. I didn't ask questions. Well, know, I am left totally out of word. Really, the place I thought I knew well are no longer place that I know now. Time ro find new landmark for myself. Not an easy task. I am a bit upset because I wanted to show the place to some people. I am out of luck, I guess.
Thursday, 31 August 2017
Tuesday, 29 August 2017
Trees are resilient
There are trees that are very resilient. This time, I won't talk about the big ugly trees with misshapen trunks. I found a tree that really have a sense of survival.
The tree seems to have fallen from the rest of the forest. It was probably too much on the edge and the forest's ground was not strong enough. Will the tree put his roots below him? Will it die before? I will see next summer if he had survived the winder. I will also see if it will get leaves again.
Monday, 28 August 2017
Places are changing
I will let the photos speak for themselves. The place had changed more than I remember how it was. Trees are everywhere. I didn't regocnized the place. I think that the above photo show a place where I went often. Around that place, there was a few big rocks that were forming a circle. I couldn't found the place and it was in that area. It was as far as I could go. I find it sad to have to leave behind a place I like very much.
Thursday, 24 August 2017
Good looking barettes
I have done two barrettes with some fino. One of them have already done in the past. It is a piece of fimo that look like other I used in the past to put on a barrette. So, nothing new with that. It was going in a familiar area. The other barrette is with four different piece of fimo. That one is a departure from what I had done before. I am happy with the result, so I may try more of that in the future.
Here what the barrettes look like:
Of course, the one on top need to have some trim of the macrame thread. I wanted to leave the glue to cure before finishing the small details. I don't know if those will be durable through time. It is one thing that I often worry about. The rest look good. I will look up to see if I have other beads that I could use for barrette. It will be interesting to see what I could come up with in the future.
Here what the barrettes look like:
Of course, the one on top need to have some trim of the macrame thread. I wanted to leave the glue to cure before finishing the small details. I don't know if those will be durable through time. It is one thing that I often worry about. The rest look good. I will look up to see if I have other beads that I could use for barrette. It will be interesting to see what I could come up with in the future.
Tuesday, 22 August 2017
Could it be bracelet?
I have done two projects that I consider to be bracelet. I doubt it will be useful projects. Here they are:
Could be more used as display more than anything else. I don't think they will be wearable. I mainly wanted to see what I could do with those fimo rings. I wonder if wearing those bracelets would be a good idea. Fimo is a bit fragile. If there are too much shock, they will break apart. I know from experience. After taking a fimo class, I wanted to know a project to a colleage. When I got the project got out of the bag, it was in pieces.
This project is not too bad. I don't consider those totally a waiste. The red bracelet is the most good looking of the two. Those two projects are more for looking at them, I don't know if there are jewelry that are more for the permanent display. Those two project would fit that category. It was nice to do them. It was for the fun side without any purpose in mind. No objectives of selling. Just wanted to see if it was workable. I guess it is a success for what I had in mind.
Could be more used as display more than anything else. I don't think they will be wearable. I mainly wanted to see what I could do with those fimo rings. I wonder if wearing those bracelets would be a good idea. Fimo is a bit fragile. If there are too much shock, they will break apart. I know from experience. After taking a fimo class, I wanted to know a project to a colleage. When I got the project got out of the bag, it was in pieces.
This project is not too bad. I don't consider those totally a waiste. The red bracelet is the most good looking of the two. Those two projects are more for looking at them, I don't know if there are jewelry that are more for the permanent display. Those two project would fit that category. It was nice to do them. It was for the fun side without any purpose in mind. No objectives of selling. Just wanted to see if it was workable. I guess it is a success for what I had in mind.
Monday, 21 August 2017
It will have an impact on the next fimo bead project
I consider it a failed project. It will have an impact on another project I have involving fimo bead. Here the project I am talking as a failure:
It is a perfect example where my inner vision didn't match up with reality. The interval between the beads are uneaven. The other problem is one place where I tried to correct a error (no knot for a bead) and it ended with a few beads knotted together.
Of course, it is a learning experience. I won't do the same for the next project I have in mind. I will probably never do that again anyway. I just hope I won't forget this terrible looking project. I may try to recuperate it a little bit. I can reduce the distance between the beads, to a certain extent. The main problem is where the beads are knotted together.
The next project I had in mind will be better, I am pretty sure. This above project explain it in part. I won't do the same. I will do knots between the beads instead. The second thing that will help me are the other beads I will use are round. It will look better to put the knots between the beads. It will give the future project a prayer bracelet look.
Bad resulting projects are popping out once in a while. Bad preparation? Bad thinking? Bad execution? I think it is all of that. It a little bit sad that it is part of the experimentation process. Only by doing that I see if I thought is giving up good result.
It is a perfect example where my inner vision didn't match up with reality. The interval between the beads are uneaven. The other problem is one place where I tried to correct a error (no knot for a bead) and it ended with a few beads knotted together.
Of course, it is a learning experience. I won't do the same for the next project I have in mind. I will probably never do that again anyway. I just hope I won't forget this terrible looking project. I may try to recuperate it a little bit. I can reduce the distance between the beads, to a certain extent. The main problem is where the beads are knotted together.
The next project I had in mind will be better, I am pretty sure. This above project explain it in part. I won't do the same. I will do knots between the beads instead. The second thing that will help me are the other beads I will use are round. It will look better to put the knots between the beads. It will give the future project a prayer bracelet look.
Bad resulting projects are popping out once in a while. Bad preparation? Bad thinking? Bad execution? I think it is all of that. It a little bit sad that it is part of the experimentation process. Only by doing that I see if I thought is giving up good result.
Thursday, 17 August 2017
barette in the making
This photo show a barrette before assembling. The step after this is glue the two part together and let it dry. It is the quickest part of doing a finished barrette. Well, there is nothing to do for the long drying part. The bolts are tied together by a macrame cord. The bare barrettes had been bought in a craft store. I think that this model of barrette, with the bolts, are the coolest ones that I have ever done. I had many comment on them when I get them in my hair.
It is a relatively quick project. It is not as quick than the earring I had done latey. The part that is the longest to do is assembling the bolts together. After glueing, I can forget about them funtil the next day. I usually wait for 24 hours for the glue to dry. It is usually enough for the two part to be stuck together for a long time. I also put the extra macrame strings in the holes of the barrette before blueing. I makes a knot also because I fine it help secure the two part together. It can be handy if there is a malfunction. The holes in the barrettes are barely visible on this photo but they are there. They are at both end of the barrettes.
Subscribe to:
Posts (Atom)